Showing posts with label little projects. Show all posts

Saturday, September 22, 2012

Why use "lasagna" no till gardening?

I have already talked all about how wonderful compost is for your garden.  For some people, including myself, there is just not enoughroom in your yard to have enough compost piles to feed your wholegarden.  So why not just turn your whole garden into a compost pile?
Lasagna gardening or a no till garden does just that.  You build up your garden with the same layers of browns and greens that you would in acompost pile and just leave it there.  When done well, you can plant your garden right into these piles of compost with little further effort.  You don't need to till because the materials will compost and turn into a nice, soft bed for you to plant your garden in.  You don'tneed to fertilize because your garden is going to be built out of fertilizer.  You don't need to weed as much because the thick layers will block the weeds from growing where they would normally grow.  You don't need as much water because the organic composting materials hold much more water than standard garden soil and the water is there waiting for your plants to drink it up.  The layers you add on to the garden may even prevent some of the diseases and pest you have had in the past from being able to return to your garden for another year.  
I think this coming year I will dive right in and set up my garden this way.  Starting when I do my fall clean up.  The hope is that I walk out to my garden in the spring and throw the plants in the ground and they are already fed and watered for the majority of the summer.  That and I won't have to do much weeding.  We will see how this works out.

Monday, September 10, 2012

Refrigerator canning for hot peppers

Hot peppers in vinegar
If you have plenty of hot peppers and want to preserve them so that they stay nice and crunchy, this is something you should try.  I advise either wearing gloves or washing your hands really, really well afterwards by the way.  First cut up your peppers removing the stems and seeds.  You can leave them whole or you could cut them into strips.  Put them all into a mason jar and then cover them with vinegar.  Let the peppers soak in the vinegar at least overnight so the vinegar can do its work.  What the vinegar does to the peppers is kill the bacteria in them so that they will last a long time rather than rotting.  The next day dump the vinegar off of the peppers.  I haven't figured out what to do with this spicy vinegar yet, but I'm sure there is a use for it in some delicious recipe.  I'd love some input from someone on that one.  Next cover the peppers with olive oil.  Be sure that the peppers are totally covered in the oil.  Put your jar into the refrigerator.  I am told that you don't have to keep these in the fridge, but they will last longer if you do.  I guess it depends on how much space you have and how quickly you will use the peppers.  I am going to try both versions and see what happens.  This recipe can also be altered to make peppers stuffed with prosciutto or something like that.  This is actually where I got the idea from.  When you finish with the peppers you will also have a lovely spicy olive oil to cook with.  It will probably be very hot, so be careful!

I went looking in my fridge for the peppers I had stored previously to take a picture of for you, but there was a little problem.  I didn't take into account that oil solidifies in the fridge.  All this means is that you should probably keep at least one jar out for use.

Saturday, September 8, 2012

How to care for your compost pile

Once your pile is built, the only maintenance it needs is water and aeration.  The bacteria you have working for you are just like most other creatures on earth.  They need water and they need oxygen.  If the pile dries up, the decomposition will just slow way down.  If there is no oxygen, then the anaerobic bacteria will get to work.  These are the bacteria that don't need the oxygen to work.  If this is what you have going on, your pile will smell really bad.  This is not what you ideally want to have going on.
If you chose a good location, you may not have to water except on the really hot spells.  Compost is good at holding water so if it rains often enough, the pile will hold an adequate water supply and won't need much help.
If you keep the size of your pile about a 3 foot diameter, that helps greatly with the aeration of the pile.  If it gets much bigger, the surface area to pile ratio is greatly reduced and there is less available oxygen for your pile.  Either way you will need to aerate your pile to some extent.  The smaller piles are less material to move around and are therefore easier to aerate.  The most common method of aeration is a pitchfork.  Dig in and throw your pile around.  Try to get all of the drier outer material closer to the inside so it can start breaking down too.  They do make fancy tools to aerate your compost, but I have found that those work well for a bucket composter or for the edges only of your pile.  They don't get the heavier innards of your pile very well.  A good old fashioned pitchfork will do the trick perfectly.

Tuesday, September 4, 2012

No dig potato harvest

If you have been wondering about my no dig potato experiment went, I'm pretty disappointed.  I only got a small bucket of salvageable potatoes.  The rest were so tiny
that there was no point in picking them up.  Many of them were also pretty large but rotten and partially eaten.  I'm not entirely sure why this was, but I'm going to do some research and figure out what I need to do differently and try it again next year.  It wasn't a total failure, I did get some potatoes and I learned that I can't do things quite how I did them this year.  I also knew going in that I had not made any amendments to the straw I used and that there may not be enough nutrients for the potatoes.  I like to try things out bare bones first to see if they can be done that way.  This doesn't seem to be one of those things.  There were also many potatoes that could potentially have grown bigger had I let them go longer.  However, many of the potato plants were ready to be harvested, so I harvested them all.  The one thing I did get out of this garden bed was good, healthy soil full of good bugs .  If you look at the picture above, you can see how rich the soil is that was left behind.  Not a waste at all.
 Either way this was a learning experience.  I started this blog when I did, before I have my future homestead, because I wanted to share these learning experiences with everyone.  I like to learn as much as I can now, before I am on my own homestead so I know more of what I need to do when I get there.  Not that things will be perfect, but I will know more than I would have if I chose to wait for the real thing.  That, I believe, is the most important step I can take to being successful at homesteading.  I hope I am right, we'll find out soon enough.

Tuesday, August 28, 2012

Mead making part two

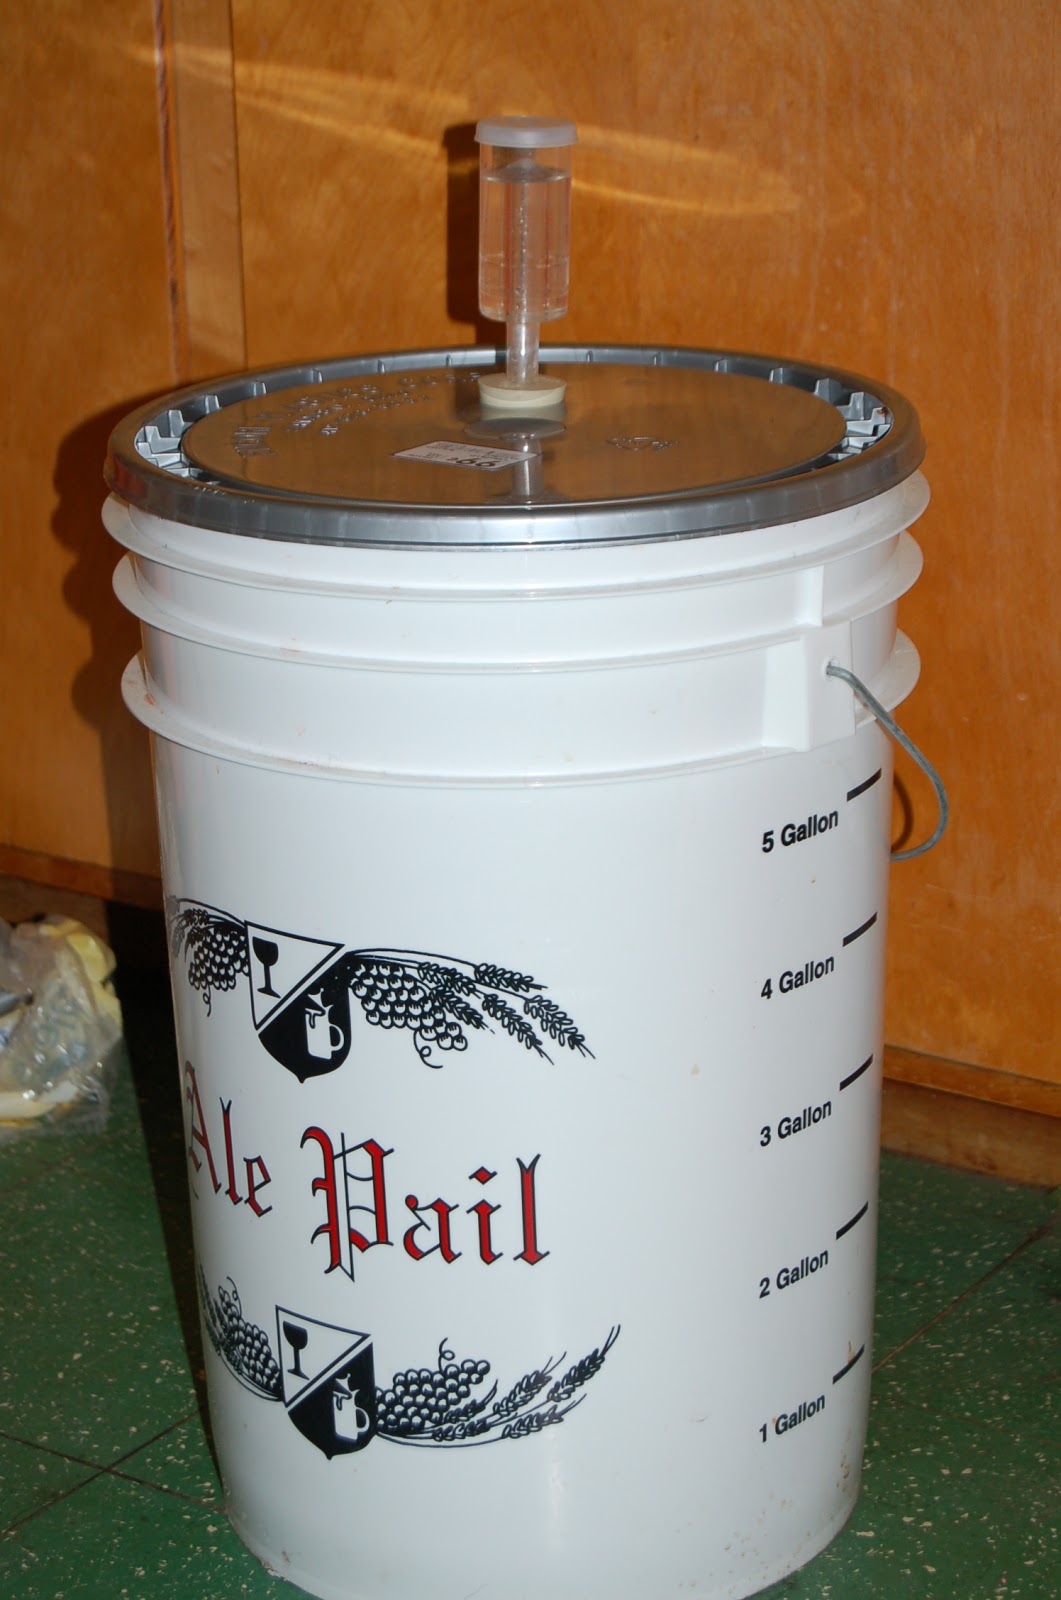
Now that your fruit and water mixture has been sitting for 7-10 days, its time to strain it and
add the honey and nutrient.  I take a large bucket and put a strainer across the top.  I then put a piece of cheesecloth over the strainer so that all the little pieces get strained out of the liquid.  Once I dump all the liquid through the strainer, I let it sit for a couple hours to be sure that all the juice gets out of the pulp.  Next I add the honey.  The recipe calls for 3 lbs of honey per gallon of the final amount of mead.  Since this is going to be a 5 gallon batch, I would use 15 lbs of honey.  However, since watermelon is very sweet, I'm going to try to only add 2 lbs of honey per gallon for a total of 10 lbs.  This should make the mead more flavorful and less percent of alcohol.  This should still be
plenty strong enough because the standard 3 lbs per gallon makes fairly strong alcohol.  I have yet to actually measure the alcohol content of my mead, but it is obviously quite potent.  I like to add the honey when it is slightly warm so that it blends in well.  It shouldn't be hot because it will kill the yeast.  The next thing you add is the yeast nutrient.  The kind I have says to add 1/2 teaspoon per gallon, but a different kind may vary in amount needed. Mix this all up really well and put the lid on the bucket with the airlock in place.  At this point you do not want any bacteria getting into your mead because you could end up with vinegar.  Let this mixture sit in the bucket for another 7-10 days and stay tuned for the next step!

Wednesday, August 22, 2012

Kill mulch for bittersweet and ivy?

Around the edges of my garden seem to be a little out of control.  I have bittersweet, ivy, and some weird sort of mini rose that are just growing out of control.  I considered going crazy one day and digging it all up, but I am about six months pregnant right now so that just isn't going to happen.  I have been collecting large cardboard boxes to lay down in the pathways of the garden but I think I could probably use them as a kill mulch for these weeds.  I'm not sure that the weeds aren't too much for this sort of a thing, but I am ging to give it a try.
The spots I am trying to fix are along the side of the house and along the side of a retaining wall.  What I did was to dig along the edge of the concrete and bury about four inches of the edge of the cardboard perpendicular to the ground against the concrete.  Then I folded the cardboard down so that the rest lay flat on the ground.  As the fall comes along I will bury the cardboard with leaves and other yard waste to weigh down the cardboard.  Hopefully this will smother all of these weeds and I won't have to spend time cutting them down all next summer.  Tune in this spring to see if it worked.

Wednesday, August 8, 2012

The Great Purge


1st Goodwill run
A big part of homesteading is living simple.  Living simple means not having so much stuff.  I am much too much of a stuff collector which is a trait I inherited from the generations before me.  So, after weeks of sorting through and making a piles and piles, today is the day it all left.  What an amazing feeling it is to see all the stuff gone and the space empty out.  This is an essential step to us moving out of
2nd run
the house we are is and into the likely smaller house out in the middle of nowhere.  Clothes, decorations, furniture, appliances, toys, etc.  The only thing that remains safe is tools.  I can't see any reason to get rid of any tools.  I am donating everything I can to Goodwill so not much is going in the garbage.  After these pictures were taken, the man made two more runs with the truck that were full of furniture we had been saving just in case we needed it.  I can't imagine who would ever need 3 coffee tables.  I also gave a few things away to friends who could use them.  Hopefully I can get rid of more stuff soon.

Sunday, July 29, 2012

Garden stepping stones

 At my house we don't really celebrate all of the traditional holidays.  Me and the man come from different religions, neither of which ever really felt quite right to either of us.  Therefore the holidays tend to not really have much meaning to them other than "spend money."  So what we decided to do was pretty much to make our own holiday/traditions to celebrate that had meaning to us as a family.  This particular celebration we got together to make stepping stones for the garden.  The garden is going to obviously provide the family
with food, but I would also like it to be a place that we can enjoy as a family.  By everyone contributing to the decorating of the garden, I am hoping to make it a place that we can walk through and enjoy the creative work that we have all done together.  By making a few stones each year there will eventually be a long winding path of our journey as a family over the years.  The other part of this sort of holiday that I think is so great is that rather than spending
money and receiving gifts, we all sit down together and work our creative magic.  Everyone brings something different to that table and we all combine the different parts to make our own beautiful designs.  And we will have these for many years rather than some toy that the kids get and grow out of in a year or so.  Plus the adults have as much fun as the kids.   So how do I make my own stones you ask??

Directions:  
Mix one 80 lb bag of regular concrete and divide among 6 molds.  You could probably get twice as many stones out of this much concrete, but we opted to have really thick stones so they would last longer and also because we really didn't have anything else to do with the leftover concrete.  Also don't use quick setting concrete because it takes time to put your design in place.  You don't want it to set in five minutes and your design be incomplete.  Some concrete is also very
coarse which would not be as easy to work with when trying to lay out a design.  Once you have the concrete in the molds start putting your design into place.  When we were doing ours, we noticed a lot of water on top of the concrete. We thought that the concrete must be really soupy but it wasn't at all.  The water just was sitting on top.  We sopped it up with a paper towel and were just fine after that.  It all soaked in eventually anyways.  You can make your design
out of whatever you like.  I used my baby's feet to make impressions and surrounded them with stones.  We also smashed a plate and used the pieces (be careful of sharp edges).  You can get all kinds of glass rocks, marbles, stones and even beads to decorate with.  Be sure to push the pieces in to place so that they stay put once the concrete dries and you start walking on them.  Now just wait for them to dry and put them in your garden path.  Enjoy!
The other project we did as a family was making birdhouses. 

Wednesday, July 25, 2012

Homemade firestarters

 Looking for a good way to get a fire going without using gasoline and use up some junk you have laying around the house?  Of course you are.  Grab an empty cardboard egg crate.  Add a piece of dryer lint to each compartment.  Then add a stick, a dry leaf, maybe some saw dust depending on what you have.  Drizzle whatever wax you have from candles that burned out over the tops of this little pile you have created.  That's it, homemade firestarters.  When you are ready to start a fire, break off an egg compartment
or two if it's a big fire.  Light the starter and put it into the kindling you have ready to burn.  It should start right up very nicely.  These are safe to use for your grill or for an indoor fireplace because you made them up without any chemicals at all.  Happy burning!

Tuesday, July 24, 2012

Kitchen scrap composter

This is a picture of my kitchen scrap composter.  They do make expensive, fancy versions that are probably nicer to look at, but mine only cost about ten dollars.  I chose a garbage can with wheels so that I could move it and a locking lid to keep critters out of it.  Next I drilled holes all around the sides and bottom for aeration.  That's it.  All finished.  When you start filling it up with kitchen scraps, it is a good idea to remember to brown vs green ratio.  I throw newspaper or cardboard in with the scraps to try to maintain the mixture.  By adding just kitchen scraps, you end up with a stinky wet sludge pile that becomes a solid mass that can't compost, so don't forget the browns.  Every now and then you should give your compost a good mix.  I tip my garbage can on its side and roll it around a little bit.  Be sure the lid is locked on tight before you get to rolling it or you may have quite a mess on your feet.  Not everyone may feel the need to compost kitchen scraps separately.  I do this because it keeps the critters away and because I can't get to my compost pile when it's snowing.  During the winter, when the compost freezes, I had the garbage can rolled right up next to the door for easy adding of my scraps.  It won't smell or anything because it is frozen solid.  Just be sure to move it away from the door as soon as things start thawing.

Thursday, July 19, 2012

Seed saving: Amish snap peas

The easiest kinds of plants to learn to save seeds for is peas and beans.  If you already save dried peas or beans, do exactly the same thing but save the beans or peas to be used as seeds.  If you are unfamiliar with this process, it is very easy.  The pea pod in the picture is an Amish snap pea.  As the season for them passed, I left quite a few pods on the vine to dry.  Once the vines are completely dead and the pea pods are dried, then collect them.  This may be a month or so after you would normally harvest them to eat.  Then all you need to do to get to the seeds is simply pop open the pod without sending the peas flying everywhere.  Be sure that the peas are completely dry and store in an air tight glass container.  These seeds can store well as long as five years.  Beans and other kinds of peas are saved exactly the same way.

Tuesday, July 17, 2012

Structure for your compost pile


There must be a hundred different structures you can build to house your compost pile.  You can get from very simple like a pile with no structure all the way to a three bin rotation system or a large barrel mixer.  Some people go for the expensive fancy systems because they are nicer to look at or because they don't want to get too dirty.  Others don't care what they look like and even like to play in the dirt, so they go for the simpler no structure or simple structure type of a pile.  Sometimes, you need something more complicated if you have a lot that needs to be composted.  Currently, I have 2 composter types at my house.  A pile of leaves that sometimes has a wire cage around it and a garbage can with holes drilled into it for kitchen scraps.  Very simple, easy to build and easy to manage.
I like the pile because as I work I can just throw everything right there into the pile with no effort, rhyme or reason.  I do have to go back and mix it up as it composts, but not too much.  The wire cage helps to contain the pile somewhat so that it doesn't go everywhere or blow away.  It goes up when there starts to be too many leaves to keep in place in the fall.  When the cage is in my way, I just open it way up or take it down.  This usually means that I am mixing the pile or it's time to throw it on the garden.  Just about every time I have taken the cage down, it goes up in a totally new spot.  That is just one more reason why I like it being so simple.  I can change my mind as to where the best spot for it is whenever I need to.

Wednesday, July 11, 2012

Wooden handled tool care

 If you have any older wooden tools or have accidentally left new wooden tools outside for too long then you need to know how to revive the handles.  It is a very simple process and it will make your tools last much longer.  First you need to smooth out the wood.  If it is  really bad, then take some sandpaper  to it until it is pretty smooth.  If it isn't too bad, then steel wool should do the trick.  Once it is smooth, apply 3 coats of teak oil or whichever type of oil it is that you want to use.  I like teak oil because it is
durable and environmentally friendly.  Between the coats of oil, go over the handle with the steel wool again.  That's it, good as new.  Ideally you want to go through this process every spring when you first take your tools out for the year.  It doesn't hurt to apply an additional coat of oil every month or so.  This should keep those handles in great shape for many years to come.

Tuesday, July 10, 2012

What to put in a compost pile


Now that you have a spot set up for your compost pile, what do you put in it?  You need a good mixture of green and brown materials.  Green materials are things like grass clippings and fruit and vegetable scraps.  Brown materials are leaves and papers.  This combination is again to support the bacteria you are trying to get to work for you.  They need certain nutrients that are available from the different materials.  Carbon is in the browns and the greens are for nitrogen.  The suggested ratio is 25 parts carbon to one part nitrogen.  If you have too much nitrogen, don't worry, it will just smell a little funny.  If you have too much carbon, the pile won't break down very well.  You can always add other things to your pile like wood ash, seaweed, or shells if you need other nutrients for your soil but these are the basics.

Monday, July 2, 2012

Where to put your compost pile

The first step in composting is to choose a good spot.  The bacteria living in your pile that are breaking it down for you need warmth and moisture to do their jobs.  Therefore, choose a location where you get a little of both.  If you put the pile in the middle of a sunny field, it will likely dry out, kill the bacteria, and not compost quickly.  It will also likely get too much rain and that can kill the bacteria too.  Don't put it under total cover either.  You want it to get some sun to warm it up and some water from the rain so you don't have to water it yourself.  My pile is at the edge of the tree cover in my yard, right at the border of my garden.  That way it is in the sun part of the day but can still get rained on.  Another option is to put it anywhere you have some room in the sun, water it when it gets dry, and cover it with a tarp to retain the moisture.  I always go for the choice with the least effort and I think that tarps are ugly.  One other consideration for location is effort to get things to and from the pile.  I mentioned that my pile was at the edge of my garden.  This makes for less work in the spring when I am the busiest.  I have to walk further in the fall when I am raking leaves, but that time of the year isn't as busy so I don't mind.
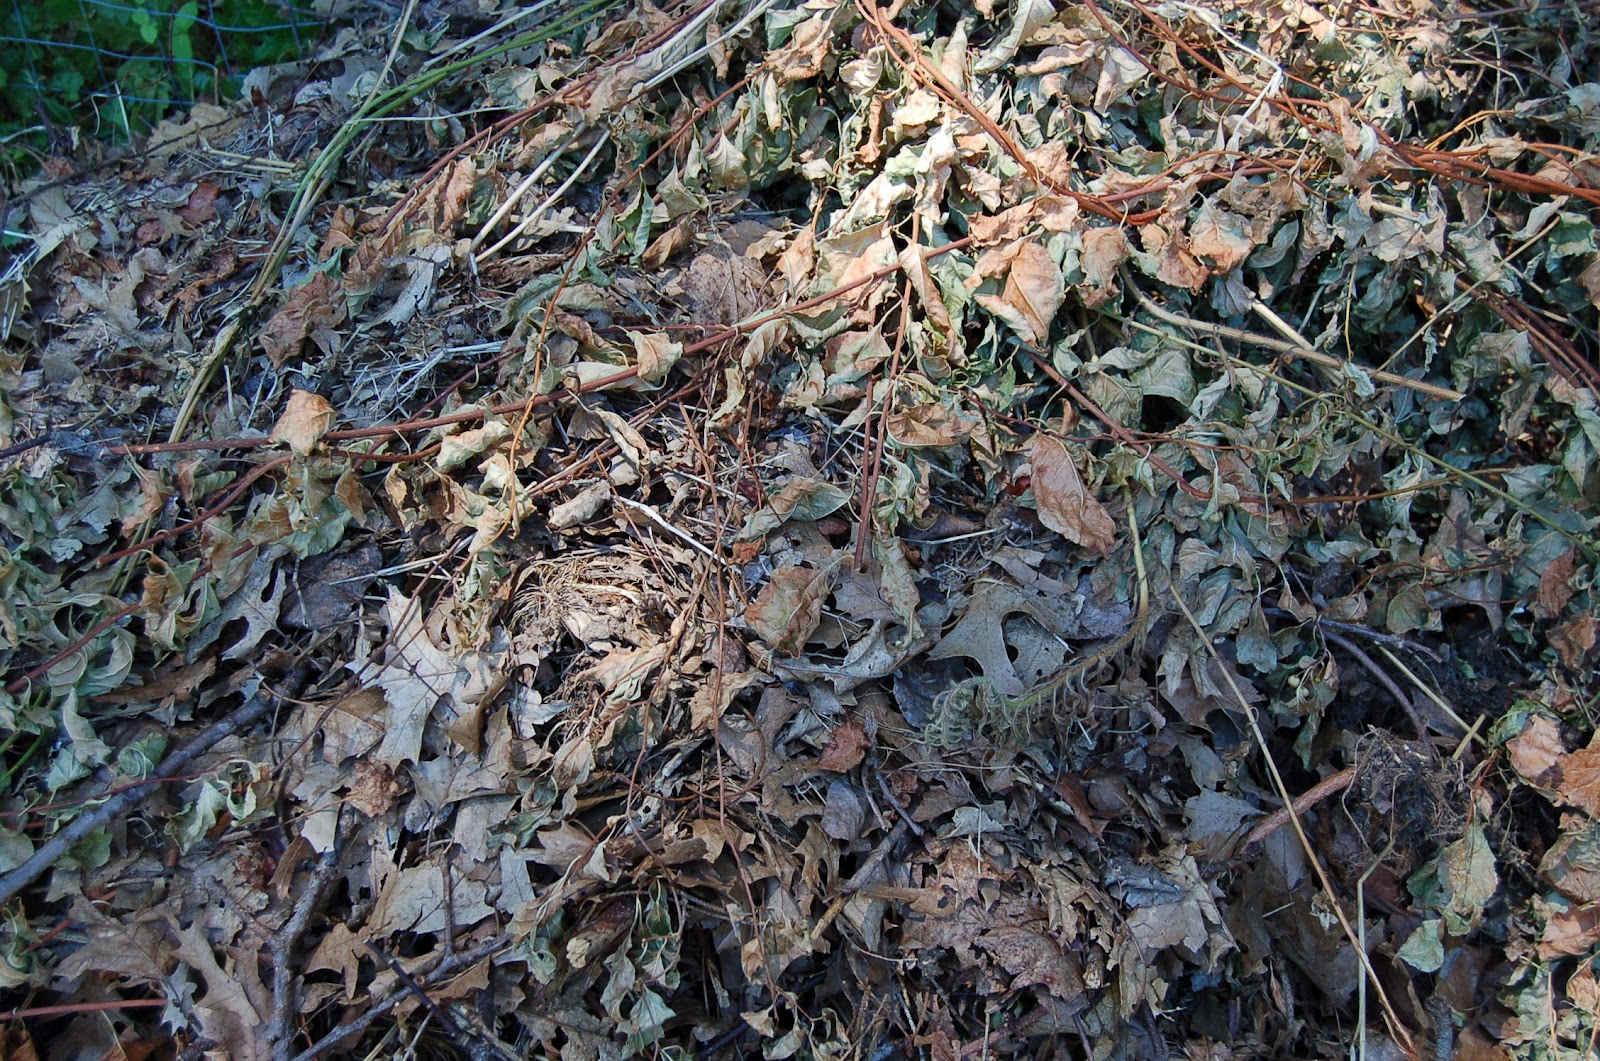
If you notice, the old compost pile is in the middle of where you would find all of the fallen leaves.  This made sense when I was raking leaves, but then when it came time to move the finished compost, I realized what a pain it was to move all that heavy compost across the yard.  There was a second compost pile under the pine trees, but that was a mistake as well.  Whenever I went to the pile I was attacked by hundreds of hungry mosquitos.  So now the pile is out at the edge of the tree line where I hope it will be able to stay.

Friday, June 29, 2012

Solar cooker building

My solar cooker was easy enough to build, that is, if I did it right.  All there is to my new cooker is two cardboard boxes plus scrap cardboard, tin foil, duct tape, glass or plastic, and newspaper.
You take the first (smaller) box and cover it inside and out with aluminum foil.  Do this first because you have to wait for the glue to dry.
Cooking chamber with tin foil
This smaller box is going to be your cooking chamber, so be sure that your pot or pan will fit in nicely.  There should not be too much space between the top of the box and the top of the pan as this will waste heat.  The pan should be black to help absorb sunlight.  A short fat pan is better than a tall skinny pan, greater surface area directed at the sun helps absorb more sunlight also.
Cardboard stacks and some newspaper
While you are waiting for the glue to dry, make some small stacks of cardboard about 3"x3"x2" to put between the two boxes so you can fill the space with crumpled newspaper for insulation. The first box now goes inside the larger box, sitting on the cardboard stacks, with the crumpled newspaper filling in all the gaps between the two.  This insulation should be closed in by more cardboard.  I duct taped it all around to get a pretty good seal.
The first side taped and the newspaper all around
The glass or plastic is going to be the lid to your cooker. It sits on top of the whole box you just finished and it covers the pan and cooking area.   It has to be cleat to keep the heat in while letting the sun shine through.  I used an old storm window I found.  The last step is to cover one more piece of cardboard with aluminum foil to function as a reflective backboard.  It gets propped up at an angle to reflect the sun into your cooking area.  Done!
Finished product minus the glass
Pretty ugly, isn't it?


Thursday, June 28, 2012

Hugelkultur mounds

The perfect way to fertilize a tree or bush is a hugelkultur mound.  This will provide food for years with only a little effort  in the beginning.  It retains water so you don't need to provide supplemental, just rain water should do.  It gets nice and warm so that if you are planting trees or bushes that should be in a warmer climate, they have a much better chance of surviving.
 So what is a hugelkultur mound, now that I know I want one?  Basically it is a pile of rooting wood around your tree or bush that is covered with dirt.  It rots and breaks down just like a compost pile which provides nutrients, the spongy water retaining texture and the heating up.
It is very easy to set one up.  When I planted the bush here in the picture, I just set it up around the planting.   I started out by digging an extra wide hole with the deep spot in the deep spot in the middle for the bush to
go.  I put a handful of leaves into the hole and put the bush on top of that.  Then I placed four large logs each on one side of the bush in the hole.  Then I filled in the spaces with large and then small sticks trying to fill in most of the gaps.  Over the top of that, I put a couple handfuls of leaves over all the wood around the base of the plant.  Cover the leaves with the dirt you dug out of the hole.  I did a lot of stomping on the dirt all around the plant because I'm sure that it is going to pack down at some
point.  I did water it some, but it is supposed to rain tomorrow, so I didn't go too crazy.  I assume that when it rains, it will all fall in and I will have to top it off.  Either way, this bush should do fantastic as soon as it settles in. The logs I used were already started rotting, so I don't think it will be long before that bush can begin to benefit from it.

Monday, June 25, 2012

Cooking with sunshine


Have you ever wanted to bake when it was 100 degrees outside?  Maybe you needed a cake for a summer birthday or some other crazy reason.  Either way it is way too hot to be baking, unless you have central air.  I don't.  I am also always looking for ways to save money on electricity or just some strange new project to try.  So I bought this book.   This book teaches you how to build some simple solar cookers and how to use them.  It is full of recipes at varying levels of difficulty.  The recipes all seem fairly easy, I guess that difficulty level means how many hours of good sunlight they need to work well.  Either way, this is going to be my project for the next few days.  We'll see how it goes.

Tuesday, June 19, 2012

Oyster shell fertilizer


The shells of oysters and many other sea creatures, like lobsters, have shells made up of calcium carbonate.  Therefore, if you eat a lot of seafood and are throwing out the shells, you are wasting valuable garden fertilizers.  I brought home a bag of oyster shells last night to add to my compost pile.  What I am going to do is to first wash them out so that the local critters don't take an interest.  Then I'll sandwich them between a couple old rags and smash the shells into little bits.  I smash them because a whole shell is a lot to break down in a compost and it would take forever.  Next I can just throw them right into the compost pile.  You can do this with many kinds of sea shells and things like eggs as well.  They will all add calcium carbonate to your soil.  Calcium carbonate is basically what lime is just in case you didn't know that already.

Monday, June 18, 2012

Vegetable and herb shelves

My kitchen is always crowded with fresh vegetables and herbs this time of year.  Many vegetables don't need to be stored in the fridge so they sit on my counters in vases of water.  I have fresh herbs from the garden that need a good place to dry, so they end up randomly spread around the kitchen.  The counter tops quickly get crowded and the herbs can get dumped on the floor and squashed. Let's make shelves!
I rounded up some scrap wood and a broken bamboo shade that had been laying around taking up space.  I was going to build three shelves for the vegetables and two bamboo racks for the herbs but had pieces of wood that were too skinny.  So I made half shelves and finished them
off with half bamboo drying racks instead.  The top shelf is just a bamboo rack for the larger herbs.  Now I have clean counter tops and less scraps laying around the house.  We'll see how these shelves hold up, but them seem like they will do just fine.